


IY Maple Sugaring in New Hampshire: How to Tap Maple Trees and Boil Sap at Home
There is something uniquely New Hampshire about making your own maple syrup. It is not a corporate process or a polished production line. It is a hands-on backyard project built around cold mornings, muddy boots, rising steam, and the satisfaction of turning raw sap into something you can pour on pancakes.
For many people, DIY maple sugaring starts small. Maybe it is a few taps in the yard. Maybe it is a family project you have wanted to try for years. Maybe you have a few maple trees on your property and want to make the most of them. The good news is that you do not need a commercial sugarhouse or a giant operation to get started. With a few basic supplies and a little patience, you can tap your own trees and boil sap at home.
Why Backyard Maple Sugaring Is So Popular in New Hampshire
Maple syrup season is a perfect fit for life in New Hampshire. Late winter can feel long, but sugaring gives people a reason to get outside and enjoy that stretch between winter and spring. When nights stay below freezing and daytime temperatures climb above freezing, the sap starts to run. That is when backyard sugaring season begins.
For many homeowners, the appeal goes beyond the syrup itself. DIY maple sugaring is about using what you already have, learning a new skill, and creating something real from your own land. Even a small home setup can produce enough syrup to make the process worthwhile.
You Do Not Need a Big Sugarhouse to Get Started
One of the biggest misconceptions about making maple syrup is that you need expensive equipment and a huge number of trees. You do not. Plenty of people in New Hampshire make great syrup with a very simple setup.
A small DIY maple syrup operation often starts with:
- maple taps, also called spiles
- buckets or sap bags
- food-grade containers for sap storage
- a large boiling pan
- an outdoor heat source
- syrup filters
- clean jars or bottles for finished syrup
That is enough to get started. It may not look fancy, but it can absolutely get the job done.
Choosing the Right Maple Trees
The best tree for syrup production is the sugar maple, but red maple and silver maple can also be tapped. Sugar maples are generally preferred because their sap often has a higher sugar content, which means less boiling to make finished syrup.
Before tapping, make sure the tree is healthy and large enough. A tree should usually be at least 10 to 12 inches in diameter before it gets a tap. Larger trees can support more than one tap, but for a DIY home operation, it often makes sense to start conservatively and keep the setup simple.
If you are trying to identify maple trees in winter, look for opposite branching, maple-style buds, and bark patterns that match the species. It is worth taking the time to identify the tree correctly before drilling.
When to Tap Maple Trees in New Hampshire
In New Hampshire, maple trees are usually tapped in late February or March, depending on the weather. The ideal conditions are freezing nights and milder days. That freeze-thaw pattern creates pressure changes in the tree that help the sap flow.
If you tap too early, the taps may sit for a while before the sap really starts running. If you tap too late, you may miss part of the season. For many backyard sugarmakers, the best approach is simply to watch the forecast and tap when the weather looks favorable.
The season usually ends when daytime temperatures stay too warm or when the trees begin to bud. Once the buds open, the sap changes and the finished syrup can develop an off flavor.
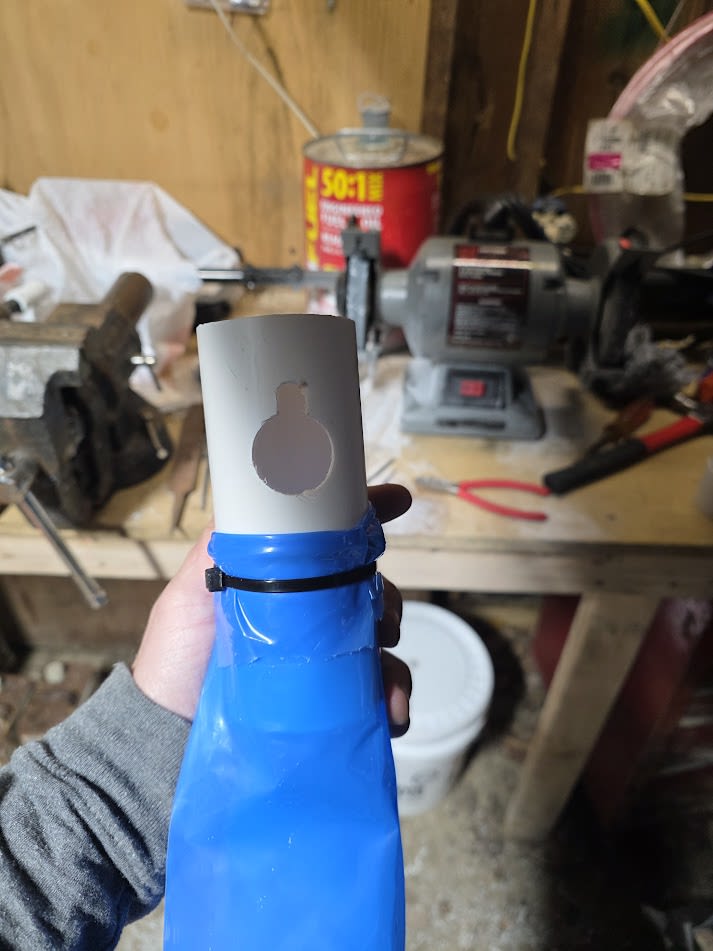
How to Tap a Maple Tree
Tapping a maple tree is straightforward, but it should be done properly.
Choose a healthy spot on the trunk and drill a small hole with a slight upward angle. The upward angle helps the sap flow out. The hole only needs to be deep enough for the spile to fit securely. Once the hole is drilled, gently tap the spile into place and hang your bucket or connect your tubing.
That is really all there is to it. The goal is to make a clean tap hole that allows sap to flow well without damaging the tree. When done properly, tapping is safe for a healthy maple tree.
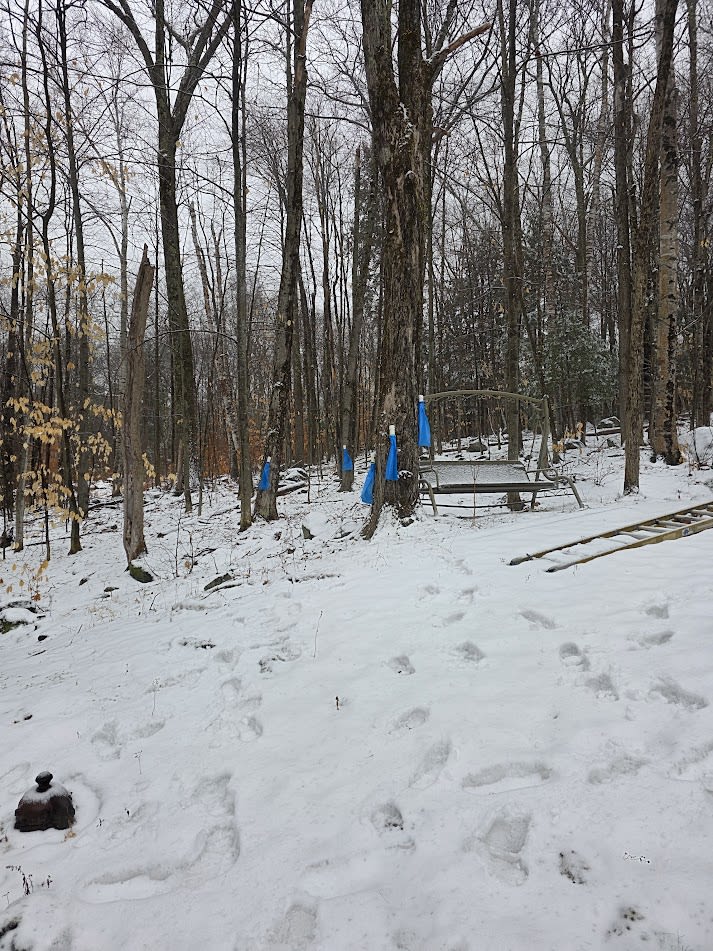
For many backyard producers, buckets are part of the charm. There is something classic about walking out to the trees and hearing sap drip into a bucket on a good run day.
|
|
|
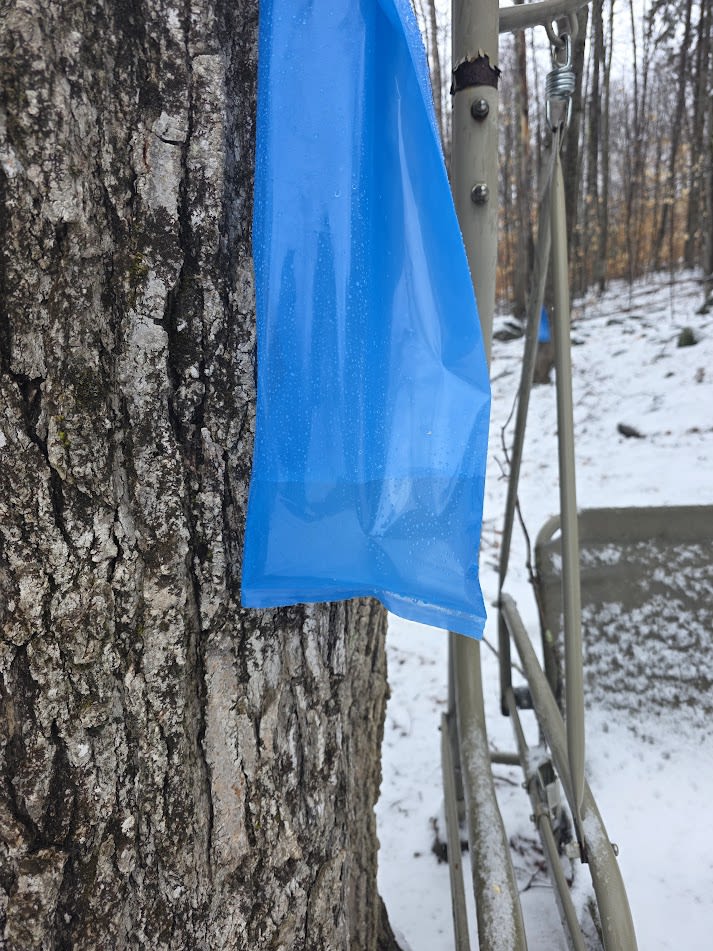
Collecting Sap at Home
Once the sap begins to flow, you will need to collect it regularly. Fresh sap looks a lot like water because it is mostly water. The sugar content is low, which means it takes a surprising amount of sap to make syrup.
Sap should be handled cleanly and kept cool whenever possible. If the weather turns warm, sap can spoil, so it is best not to leave it sitting too long before boiling. Many backyard sugarmakers collect daily or every couple of days and store the sap in food-grade containers until they are ready to boil.
Boiling Maple Sap in a DIY Setup
Boiling is where the real work happens. The goal is simple: remove enough water from the sap until it becomes syrup. In reality, this takes time, fuel, and patience.
Most people with a DIY maple syrup setup boil outside, and that is usually the best choice. Boiling sap creates a huge amount of steam, which is not something you want inside your house. A propane burner, a homemade wood-fired arch, or another outdoor heat source can all work for a small-scale backyard operation.
At the start of the boil, the process is mostly about reducing volume. You keep feeding sap into the pan while maintaining a steady boil. Over time, the liquid becomes darker, thicker, and more aromatic. Eventually, you reach the finishing stage, when the sap has boiled down enough to become syrup.
This is often the most rewarding part of the process. What started as clear sap from your trees slowly transforms into rich maple syrup right in front of you.
Finishing and Filtering Maple Syrup
As the sap gets close to finished syrup, it needs more careful attention. At that stage, it can scorch more easily, so many backyard producers finish the final stage indoors where the heat is easier to control.
Finished maple syrup should be brought to the proper finishing temperature or density, then filtered while hot to remove natural solids sometimes called sugar sand. After filtering, it can be bottled in clean containers while still hot.
For a small home maple sugaring setup, this is the payoff. After gathering sap and boiling for hours, you finally get to bottle syrup that came from your own trees.
Why DIY Maple Sugaring Is Worth It
A backyard maple syrup operation is not about efficiency. It is about the experience.
You are not trying to compete with a commercial producer. You are creating something with your own effort, on your own property, during one of New Hampshire’s most interesting seasons. You are learning to watch the weather, understand your trees, and enjoy a process that is both simple and satisfying.
For some people, it becomes a tradition. For others, it becomes a hobby that grows over time. Either way, it is one of the most rewarding DIY outdoor projects a homeowner can take on.
Tips for First-Time Backyard Sugarmakers
If you are thinking about tapping maple trees at home, keep it simple at first.
Start with just a few taps so you can learn the process without feeling overwhelmed. Keep your equipment clean, because sap is a food product. Boil outside whenever possible, since the steam can be intense. Give yourself plenty of time, because boiling takes longer than most people expect. Most of all, do not overcomplicate the process. A simple setup can still produce excellent syrup.
Final Thoughts on Tapping Maple Trees in New Hampshire
If you have maple trees on your property, making your own syrup is a great way to enjoy late winter and early spring in New Hampshire. You do not need a big operation, expensive gear, or dozens of taps to get started. A few trees, a small DIY setup, and some patience are enough to make real maple syrup at home.
There is a certain pride that comes with pouring syrup you made yourself. It tastes a little better because you know exactly what went into it: cold mornings, steady boiling, a little trial and error, and the satisfaction of doing it yourself.
That is what backyard maple sugaring in New Hampshire is all about.
